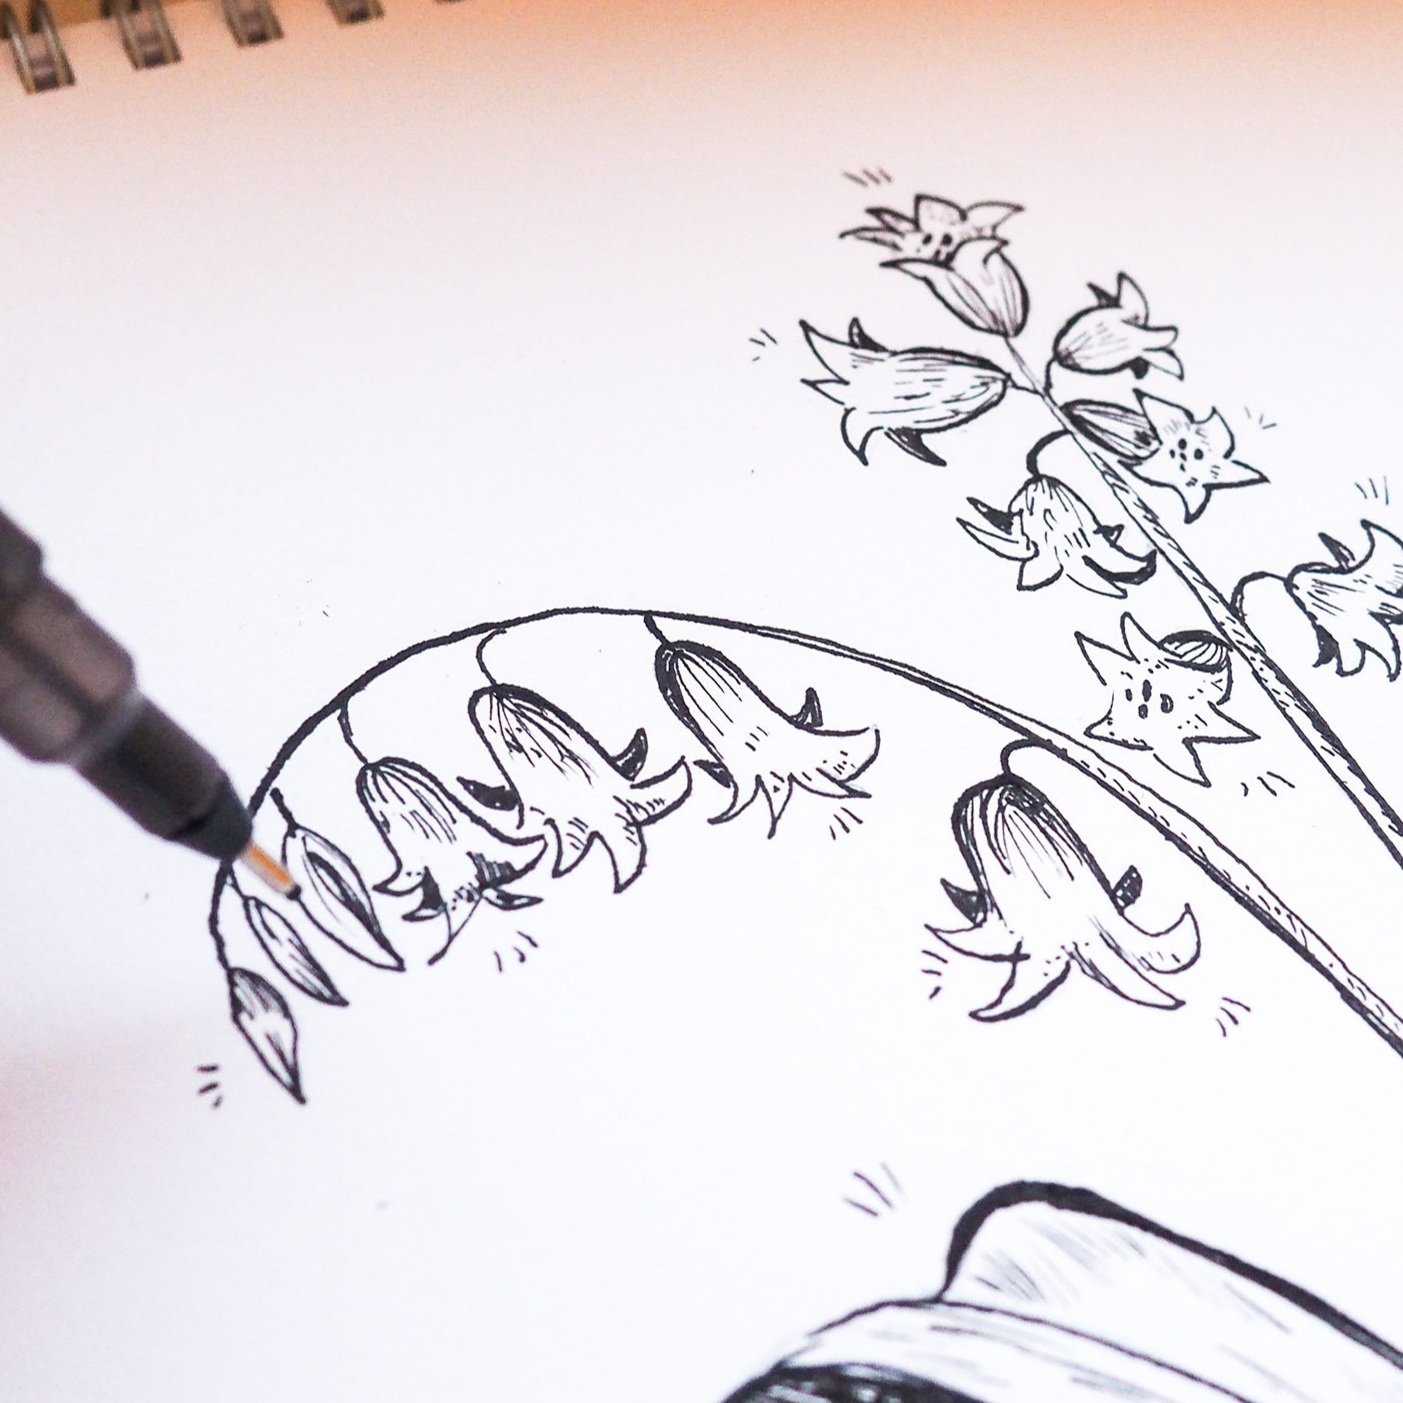
Have you ever fancied sketching your own botanical illustration with ink, or making an animal look super fluffy in your painting? Try these two drawing techniques (that aren’t just for pens and pencils!) to learn how to improve your shading and texture in your artwork.
My go-to techniques when drawing are these two classic ways of shading: hatching and cross-hatching. I teach these methods in my online art classes as they’re a great way for beginners to learn about building depth and shadow in their illustrations. You can use pens and pencils of course, but why not explore applying these techniques with a brush too! Grab your materials and get practising!
Step one
Draw two circles in your sketchbook or on a piece of paper. Using your pen, pencil or brush, you’re going to shade the circles so that one half appears light and the other half dark, like a half-moon.
Hatching
Sketch little lines so that they’re really close together to create a dark surface area. Then as you go from one side of the circle to the other, draw them further apart to make the surface look lighter. You could also explore effects you can create by varying the length and directions of the lines.

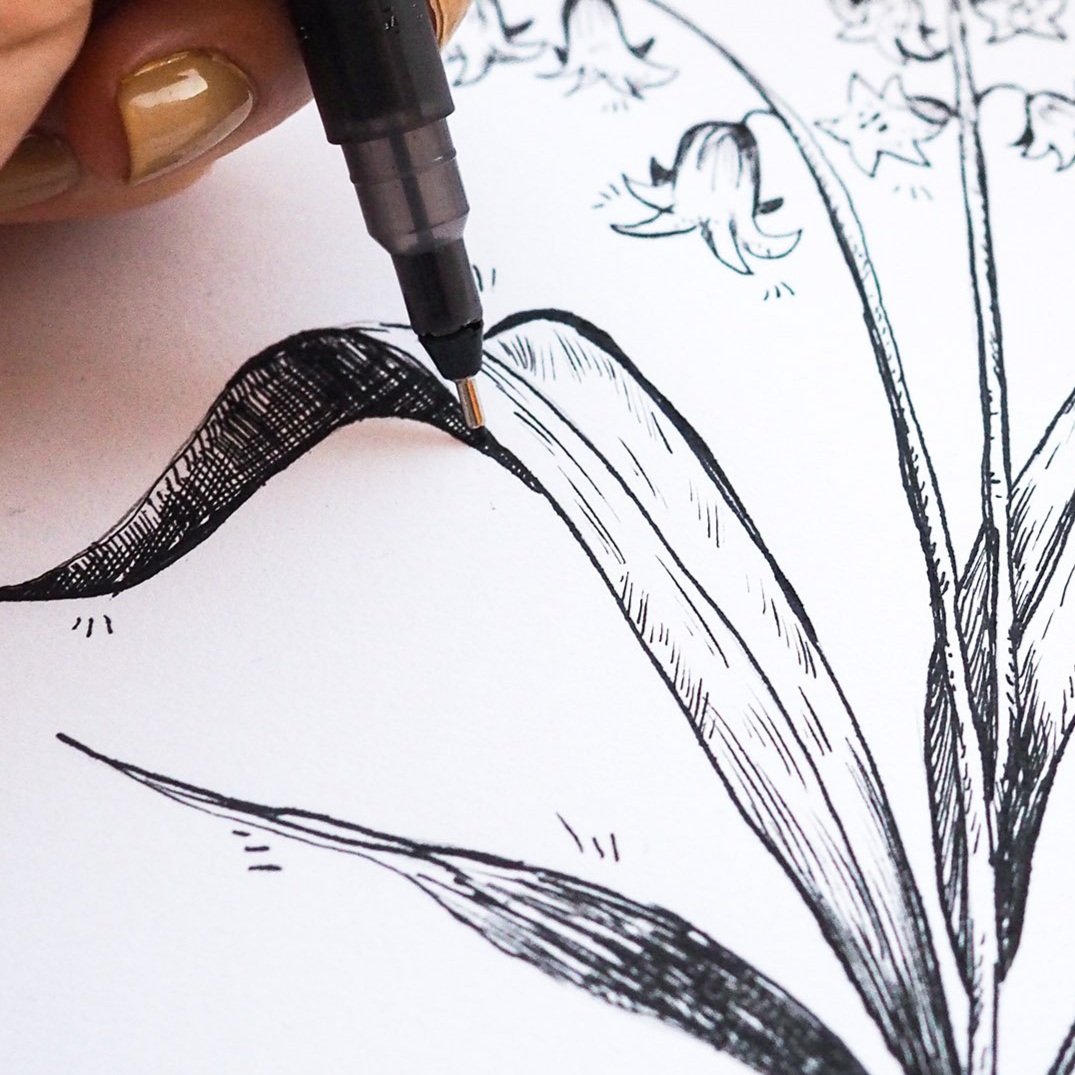
Cross-hatching
Shade the second circle the same way, but add another layer of hatching on top in the opposite direction to create a grid-like effect. Again, the closer together the lines are, the darker the surface will appear. This is a great technique for shading in really dark areas in your illustrations.