Hello fellow artist! Welcome to the first instalment of my free Art Activity series, where I’ll brief a fun little creative project inspired by what’s on my desk or in my sketchbook. I hope this series will inspire you to spend a spare afternoon working on a little project to relax, or pin it to your rainy day activity Pinterest board to do with your friends and family!
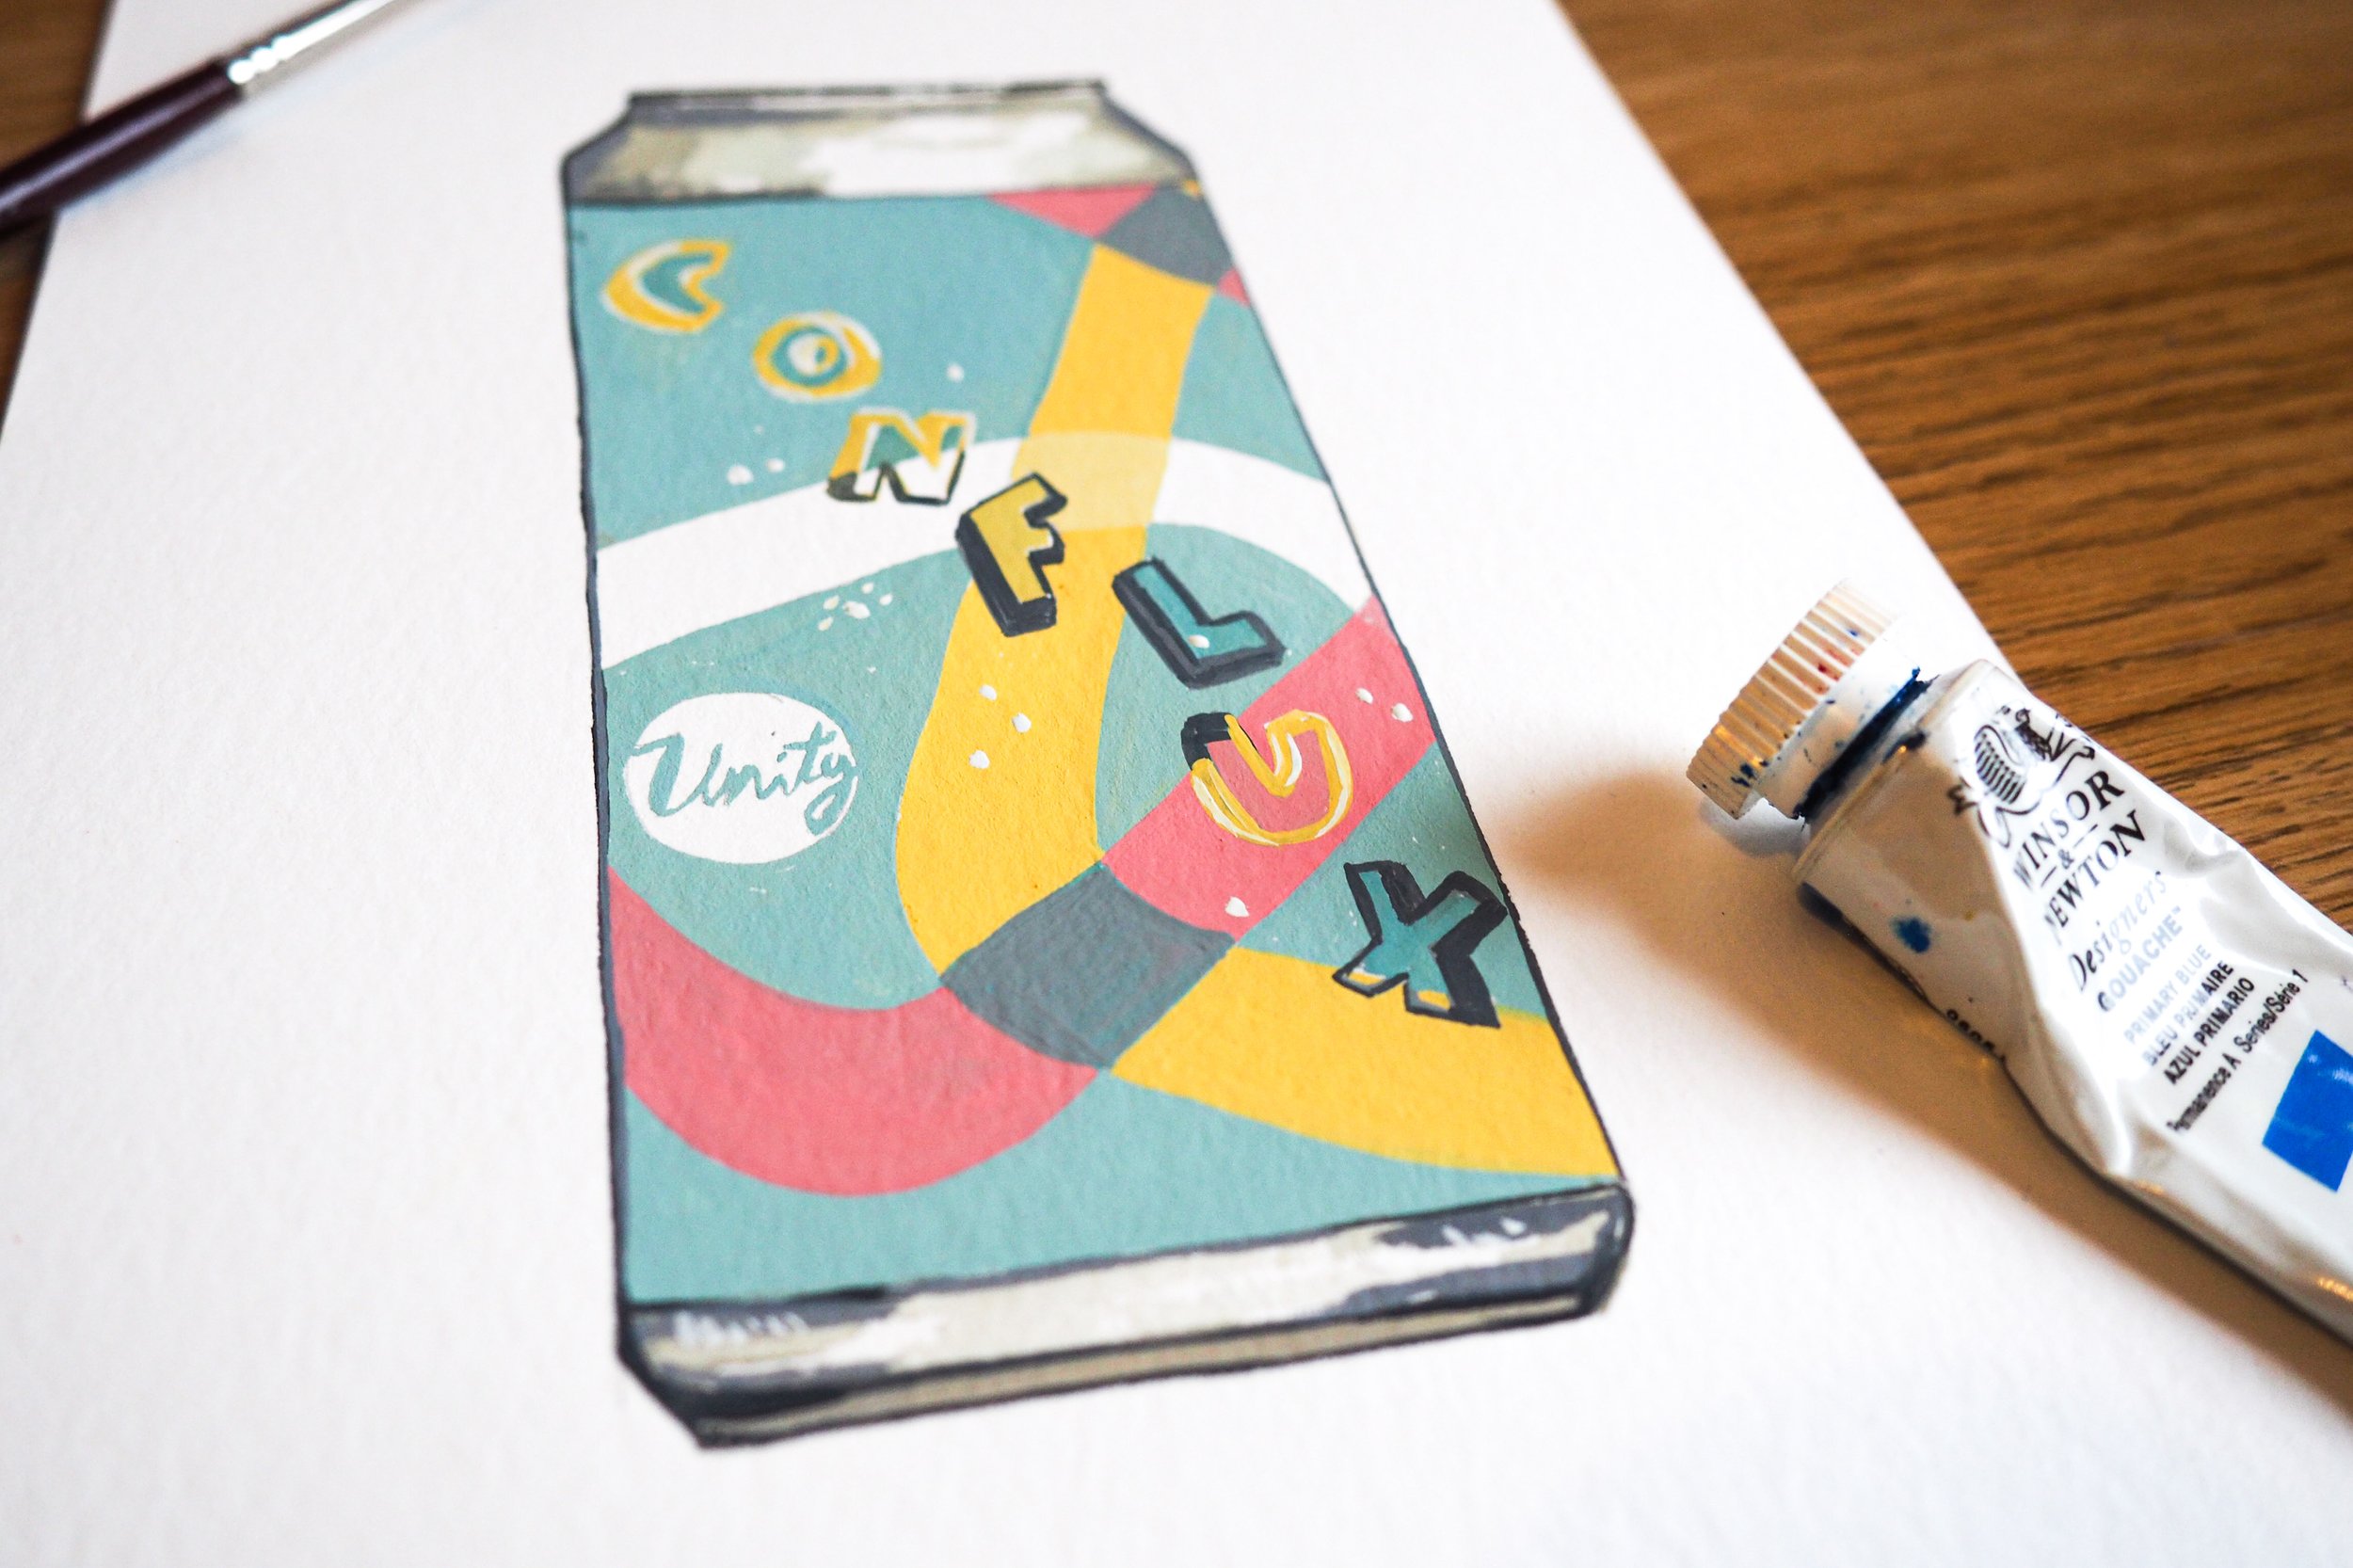
In the studio this week, I’ve been working in collaboration with micro brewery Unity Brewing Co, as they are my most recent workshop venue in Southampton! My first art class at Unity will be on 19th January, all about illustrating their famously bright and colourful beer cans with gouache paints, Andy Warhol style!
The fun doesn’t have to end at a beer can though; drawing packaging is a great way to commemorate your favourite objects or food packaging too (mine’s an old Uncle Joe Mint Balls tin which I was given years ago in Wigan, which is where I was born!). In this activity you’ll practise your typography skills, observational drawing and learning to control your materials with a steady hand.
So dig through your kitchen cupboards, fridge or vintage tin collection to find your inspiration!
Don’t forget to tag me in your work-in-progress shots and final piece over on instagram at @AmyHarwoodIllustration and #AmyHarwoodWorkshops! I’d love to see what you create!
Step 1 - Sketch!
Have your ‘model’ in front of you and gather your tools for observational drawing: pencil, ruler and rubber. This stage is the trickiest part, as you need to imagine that the 3D object in front of you is flat as a pancake. Start by using the ruler where possible to create a simple outline of the object. You’ll likely need to rub parts out along the way to adjust the size or length of the object, as you want to make sure you can fit the design inside the outline. If your object is round in parts, just go for it freehand! Use light little whispy motions with your pencil to slow build your shape. Once your outline is complete, get to work on the packaging design, again using the ruler and rubber when you need it. Remember to keep that pressure on the pencil light!
Is your object looking a bit wonky? Embrace it! We’re not robots and nothing we draw has to be perfect, so roll the wobbly bits as this adds character to your illustration! If we all drew the same way the world will be a boring place, right?

Tools: pencil, ruler and rubber
Step 2 - Choose Your Colours
Take a moment to observe the colours that you see in your packaging. The materials and techniques you use might depend on how the packaging has been printed. For recent products, the printing might have been digital so there’s lots of gradients and blending. More traditional packaging might be printed with limited colour blocks, so the design is flat and structured. Mix the paints that you see or select your colour pencils or pens that suit the brief. If you want to use black and white medium such as fineliner pens or ink, assign which colour on the packaging you want the darkest areas to be for your shading, eg. the typography or a dark part of the design, or stick with a linear outline - your choice!
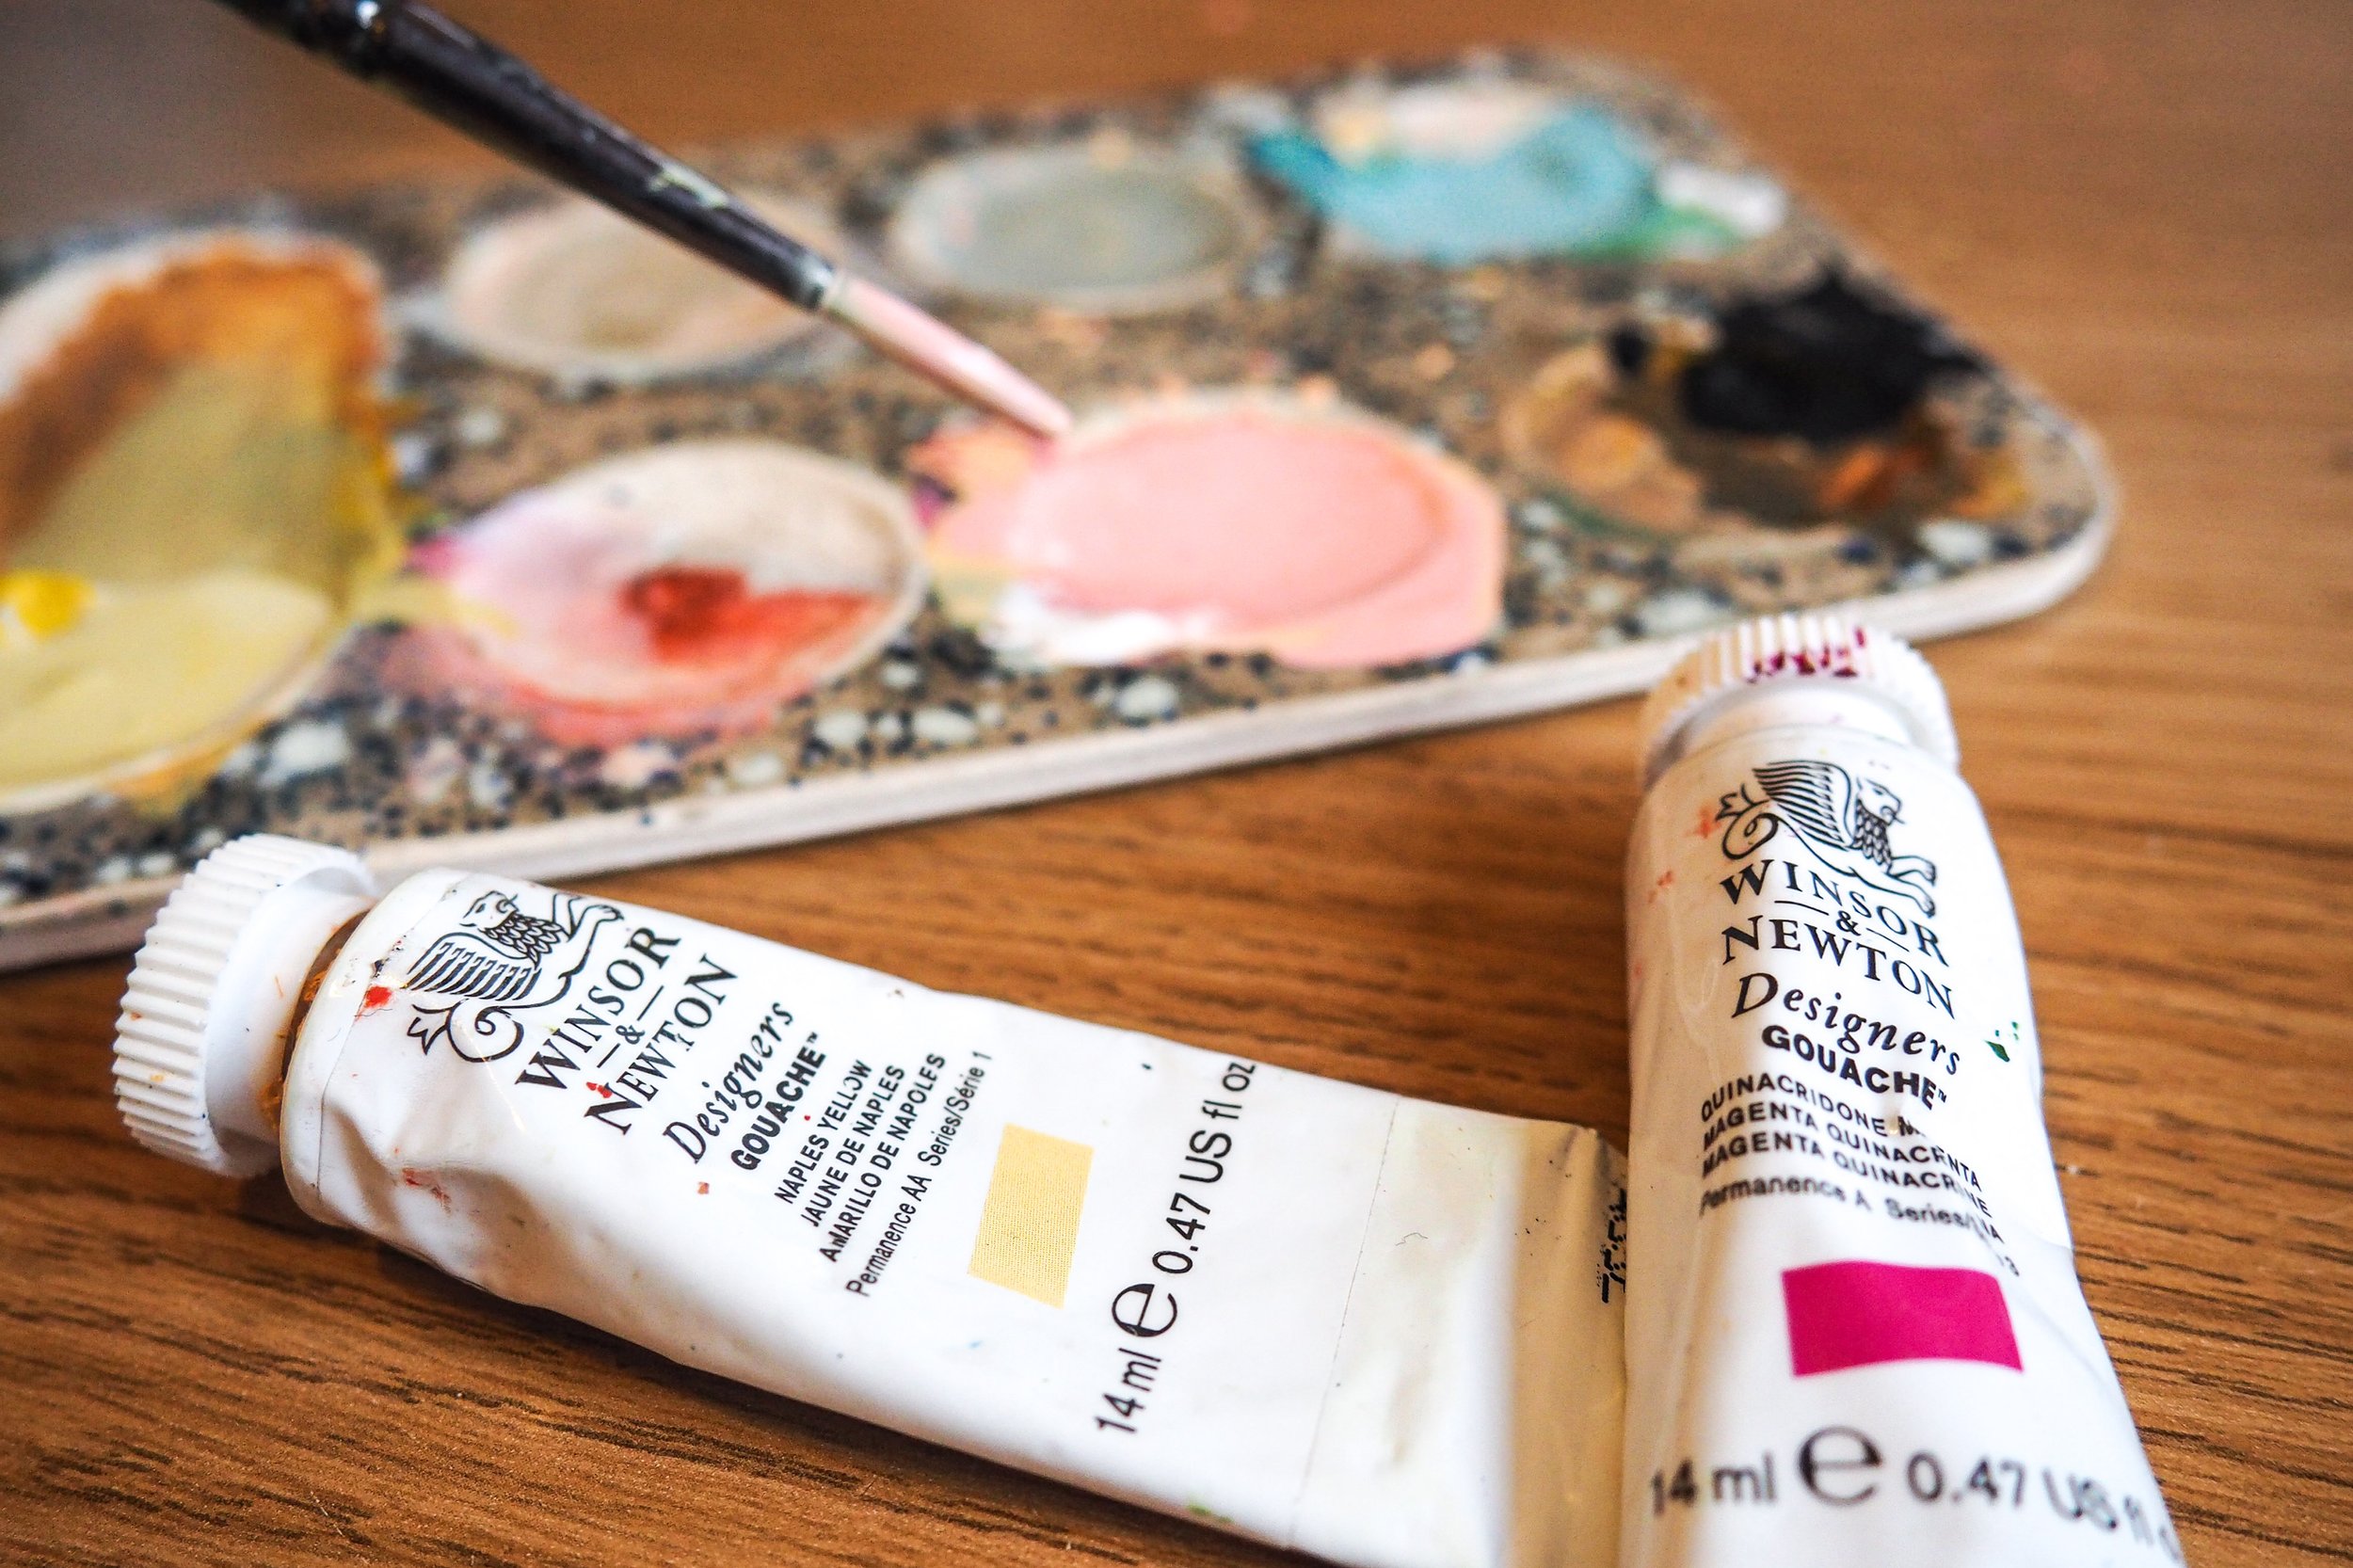
Tools: Daler Rowney Aquafine Round Brush 4, Winsor & Newton Designer’s Gouache in Naples Yellow and Magenta
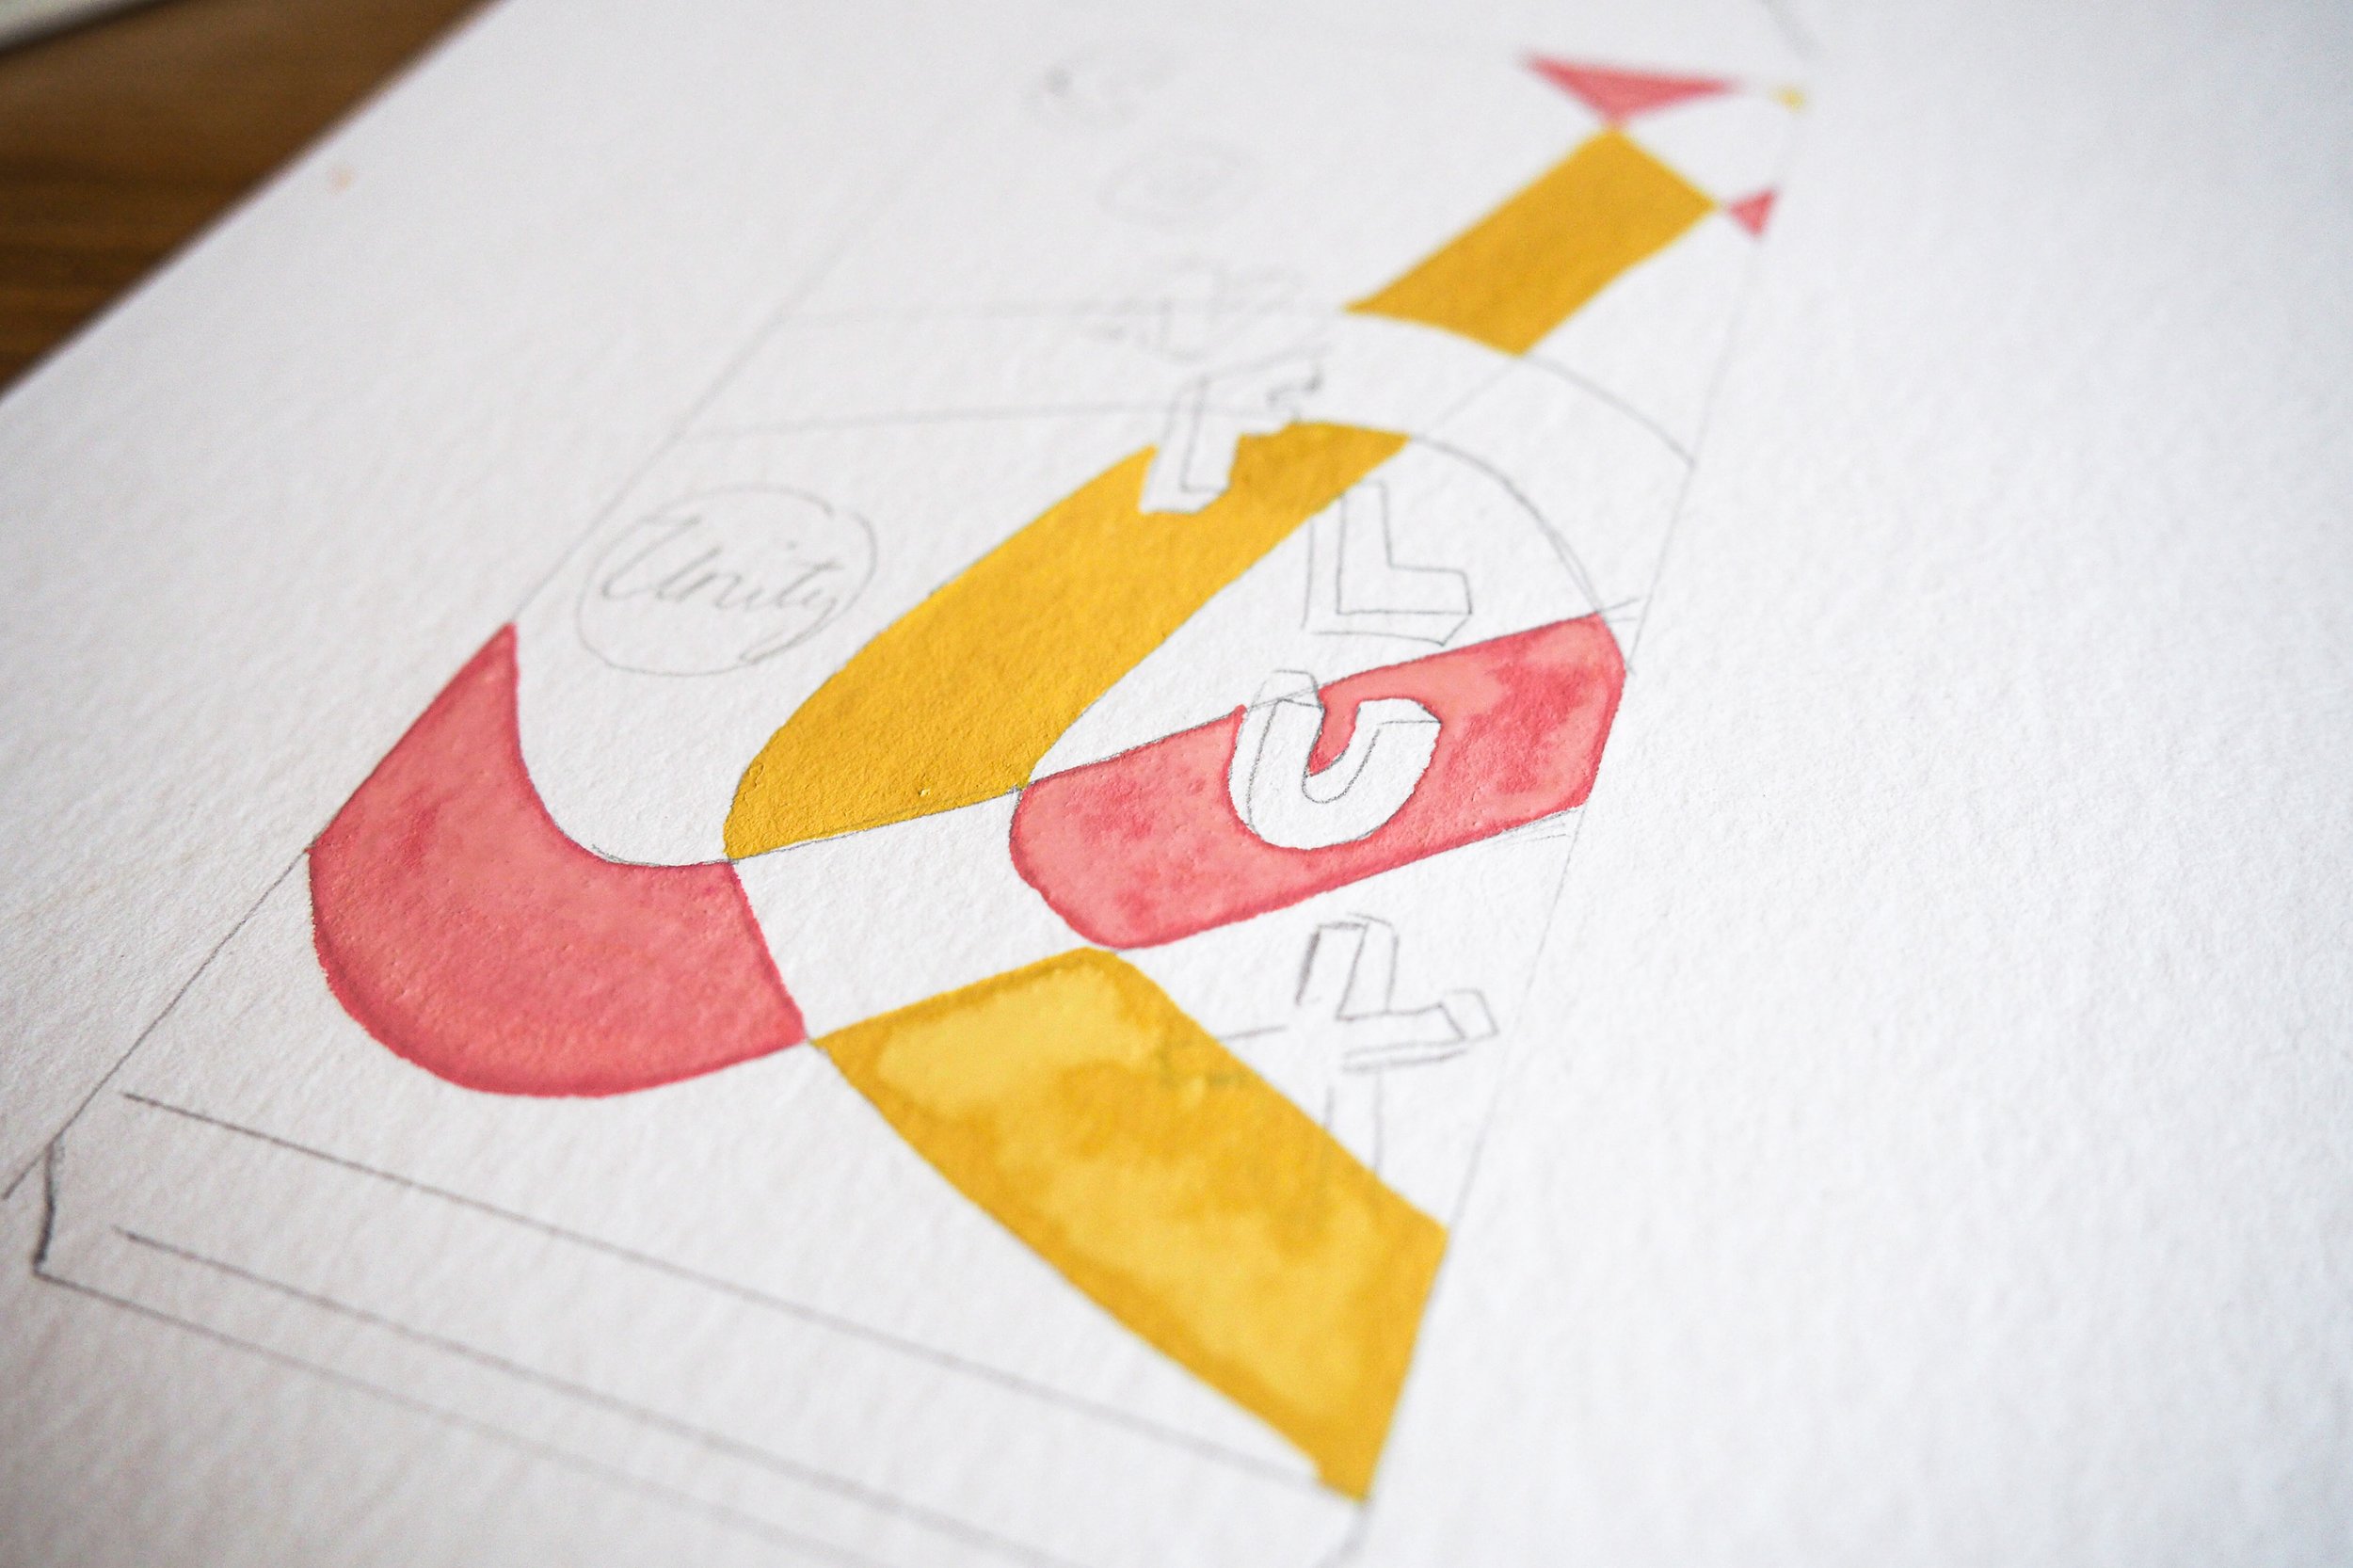
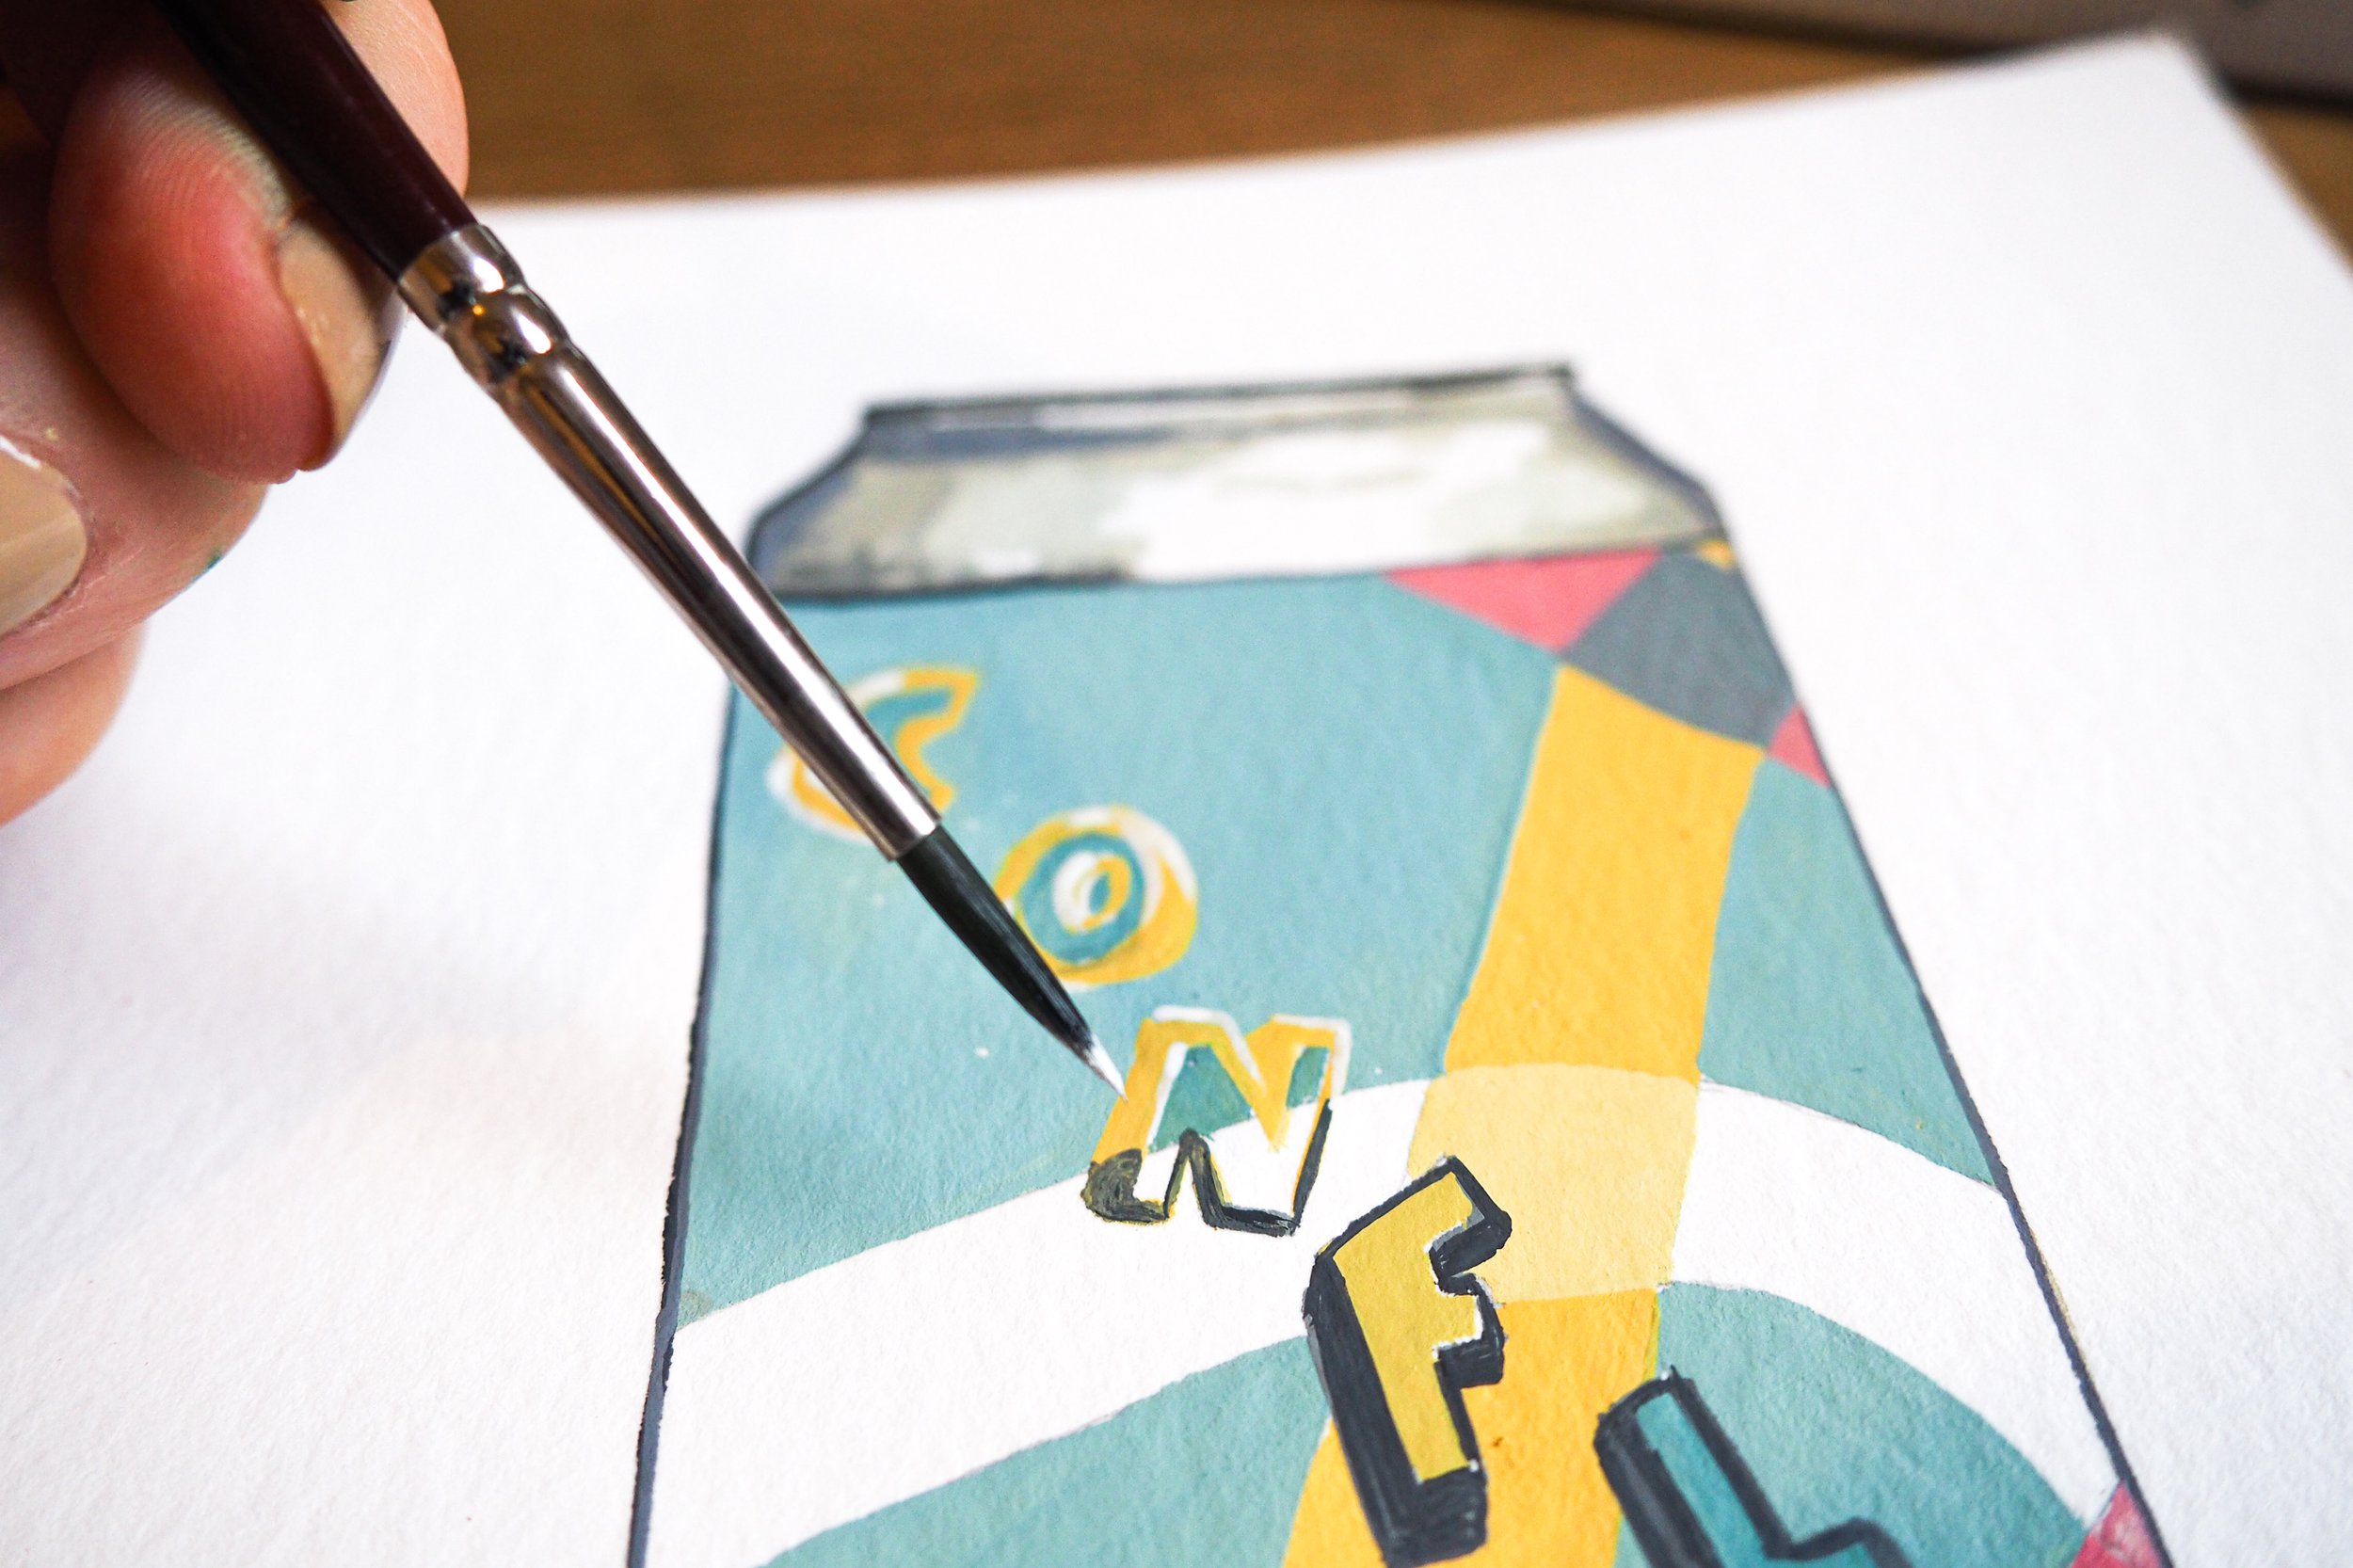
Step 3 - Colouring in!
Using your outline as your template, start filling the spaces one colour at a time. I find painting in order from lightest colour to boldest colour is a nice way to cover up any mishaps along the way (as a left-hander, I smudge a lot!) and it’s also harder to paint light tones on top of dark. Let each layer dry before moving onto the next colour to avoid murky or unwanted blending. Smaller paint brushes work best for the fiddly areas, then bigger brushes can be used for wide open spaces. If you’re using dry materials, you can do your own thing here, but try to keep your shading consistent and going in the same direction if you want to keep your design clean.
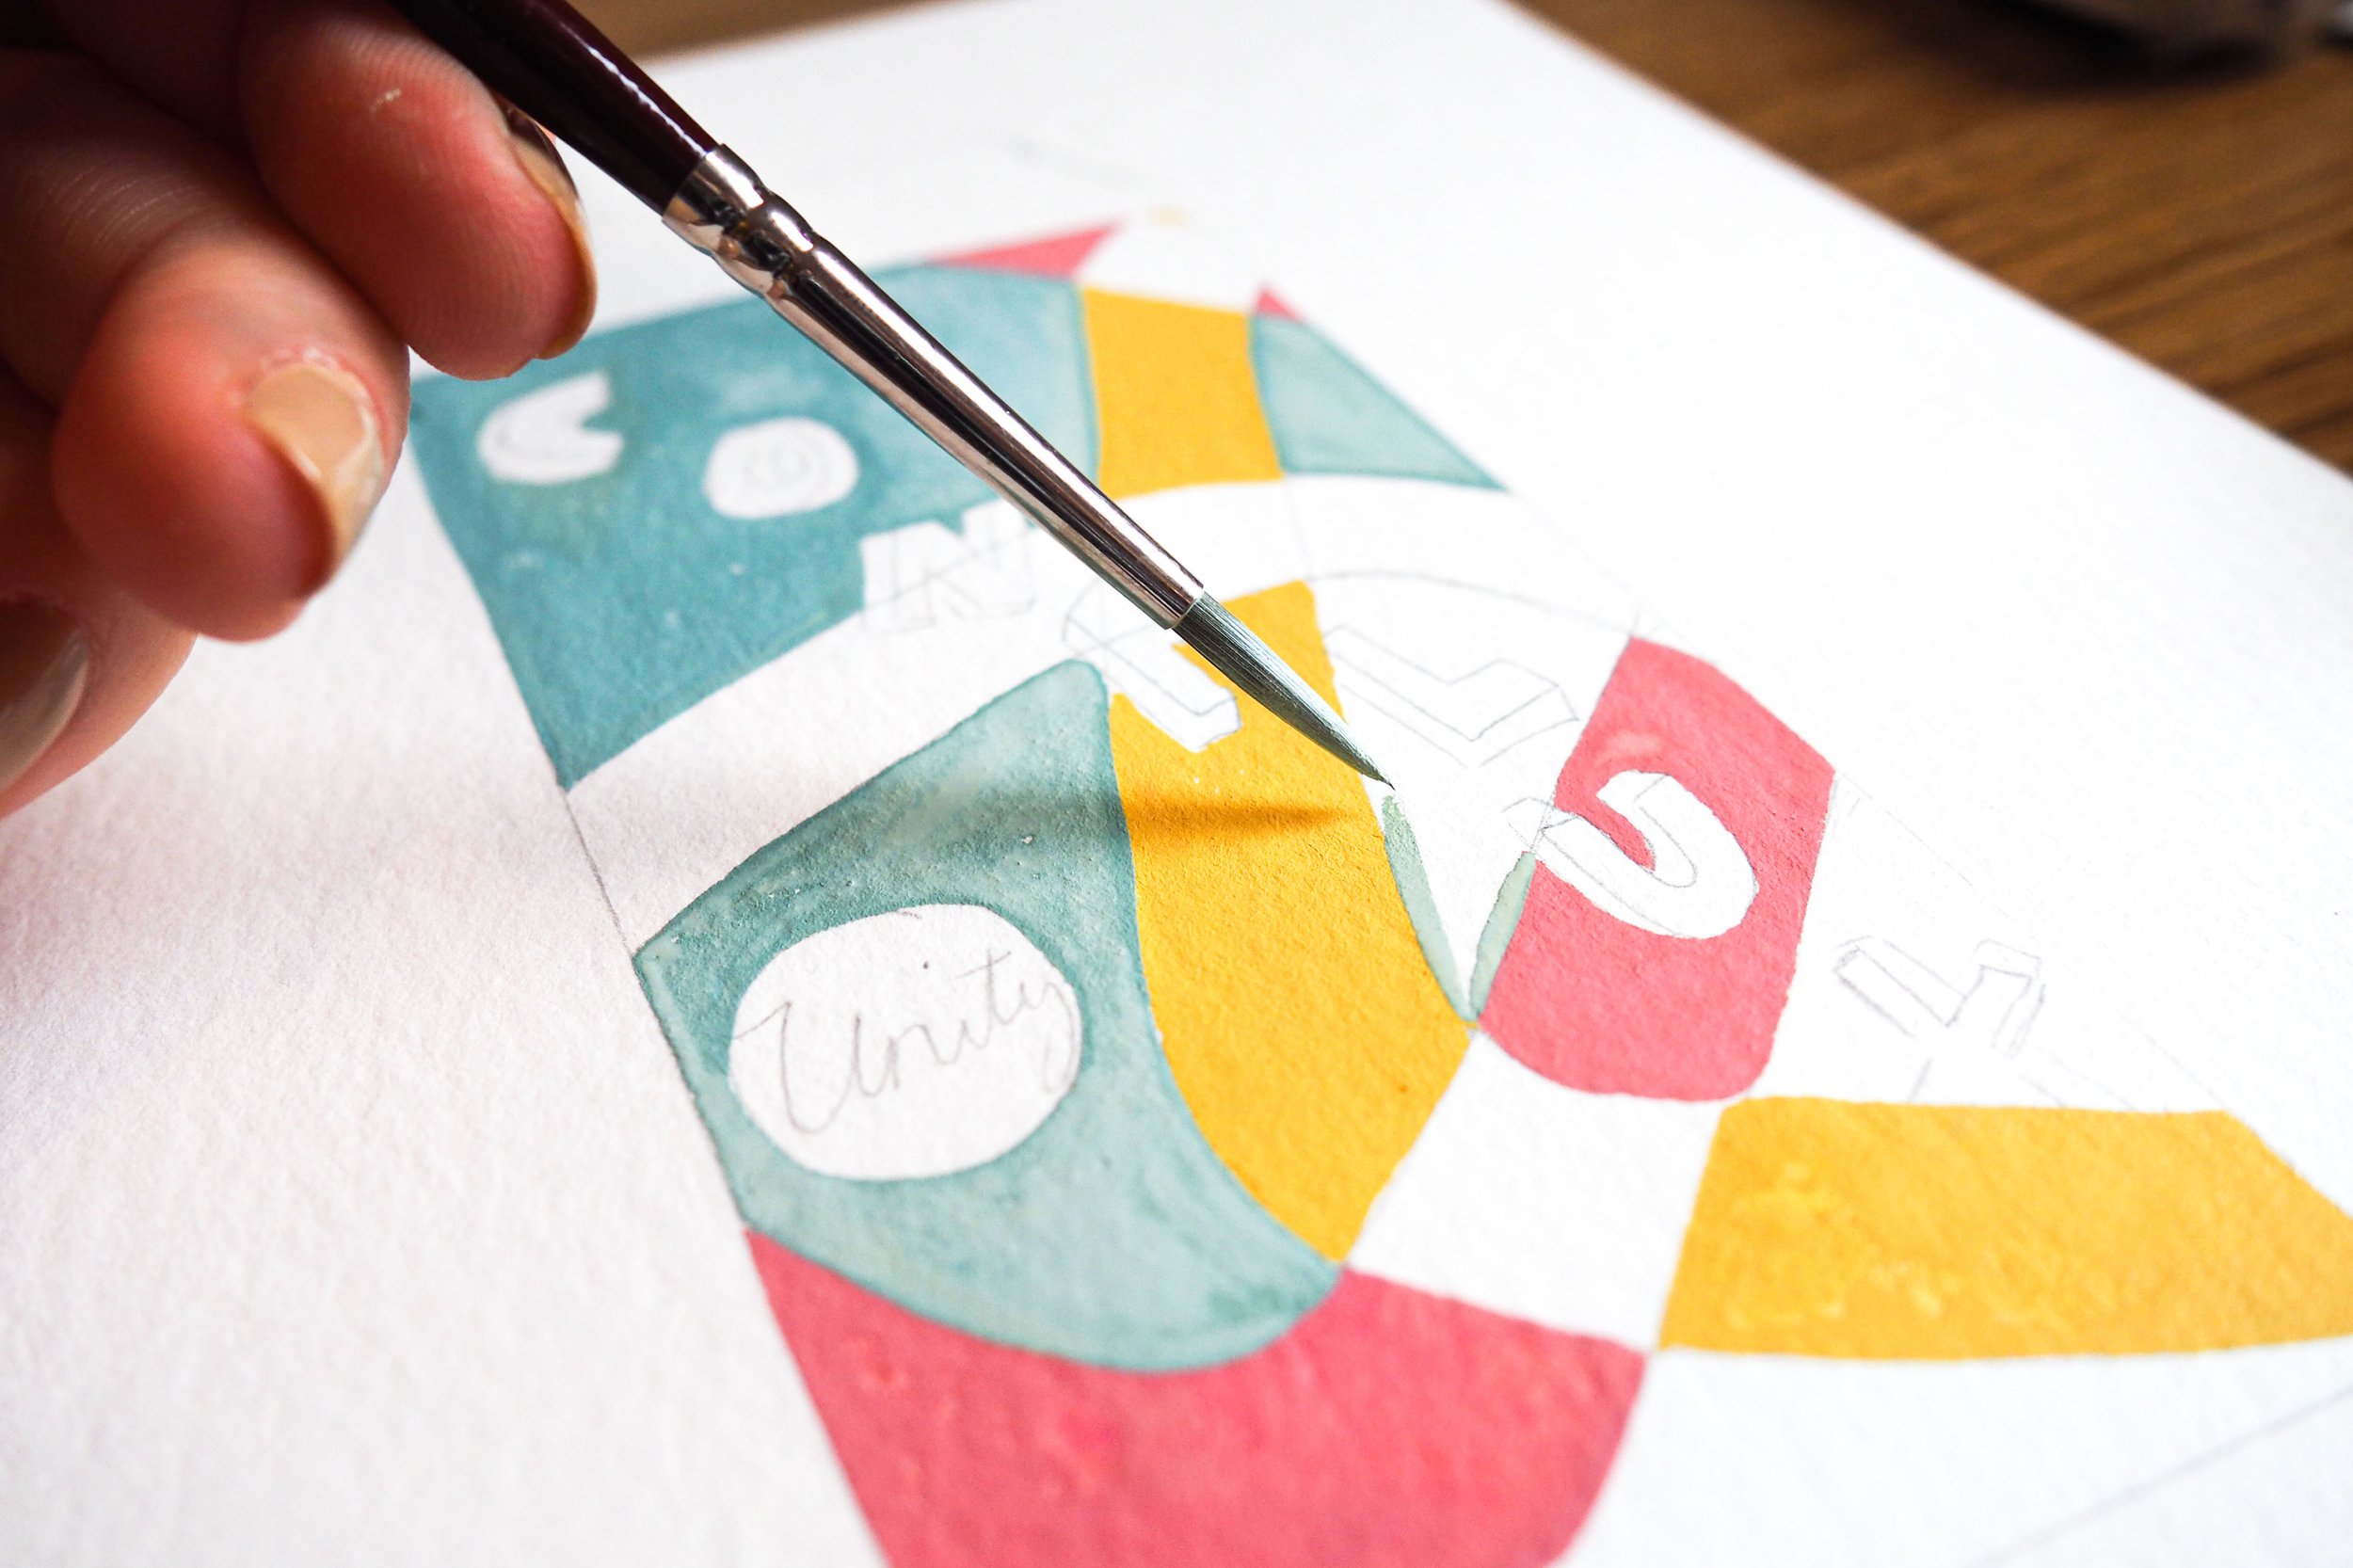
Step 4 - Refine Details
Evaluate your illustration and check to see which areas need a bit more TLC. Perhaps you need to darken some areas or reinforce the typography. You could use white paint to add highlights or black to make the shadows pop. Add another layer of colour if you think you need to make your piece more vibrant or to tidy areas up.
Ideas for your final piece:
Frame and display it in your kitchen or dining room to add some food and drink themed illustration to your decor!
Give your friend a one-of-a-kind art piece inspired by their favourite treats or tipple!
Build a collection of packaging illustrations in your sketchbook to practise, then work on a themed series